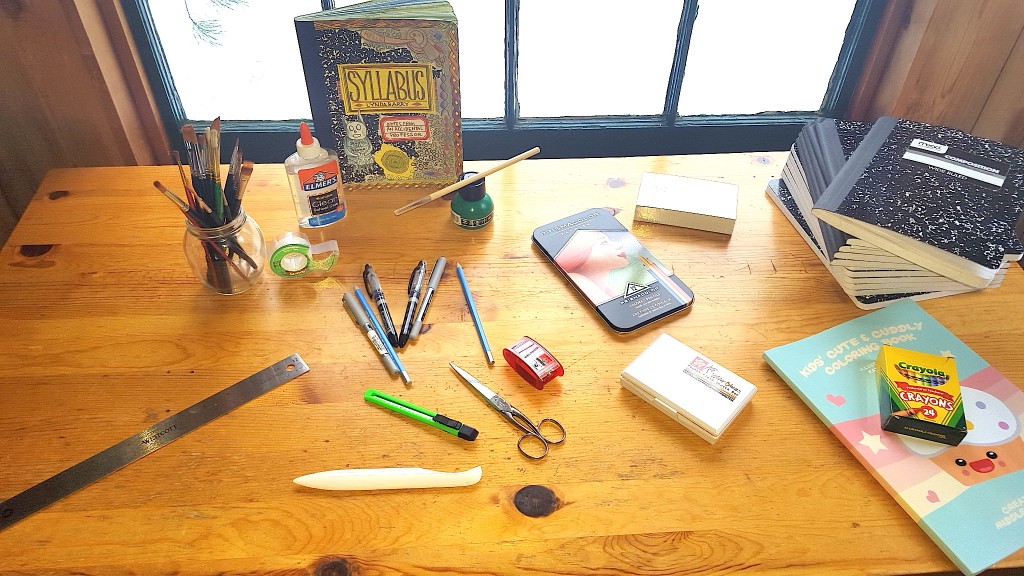
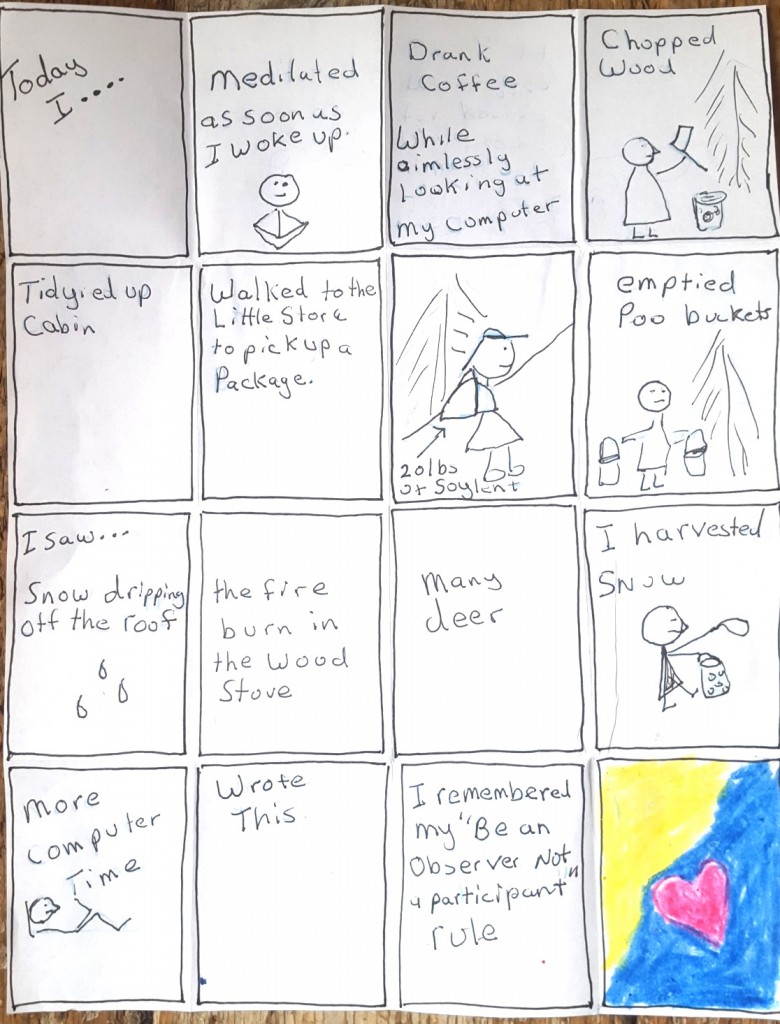
Since getting Internet, I’ve been getting crafty at the cabin. I think I have enough food and art supplies to last me all winter.
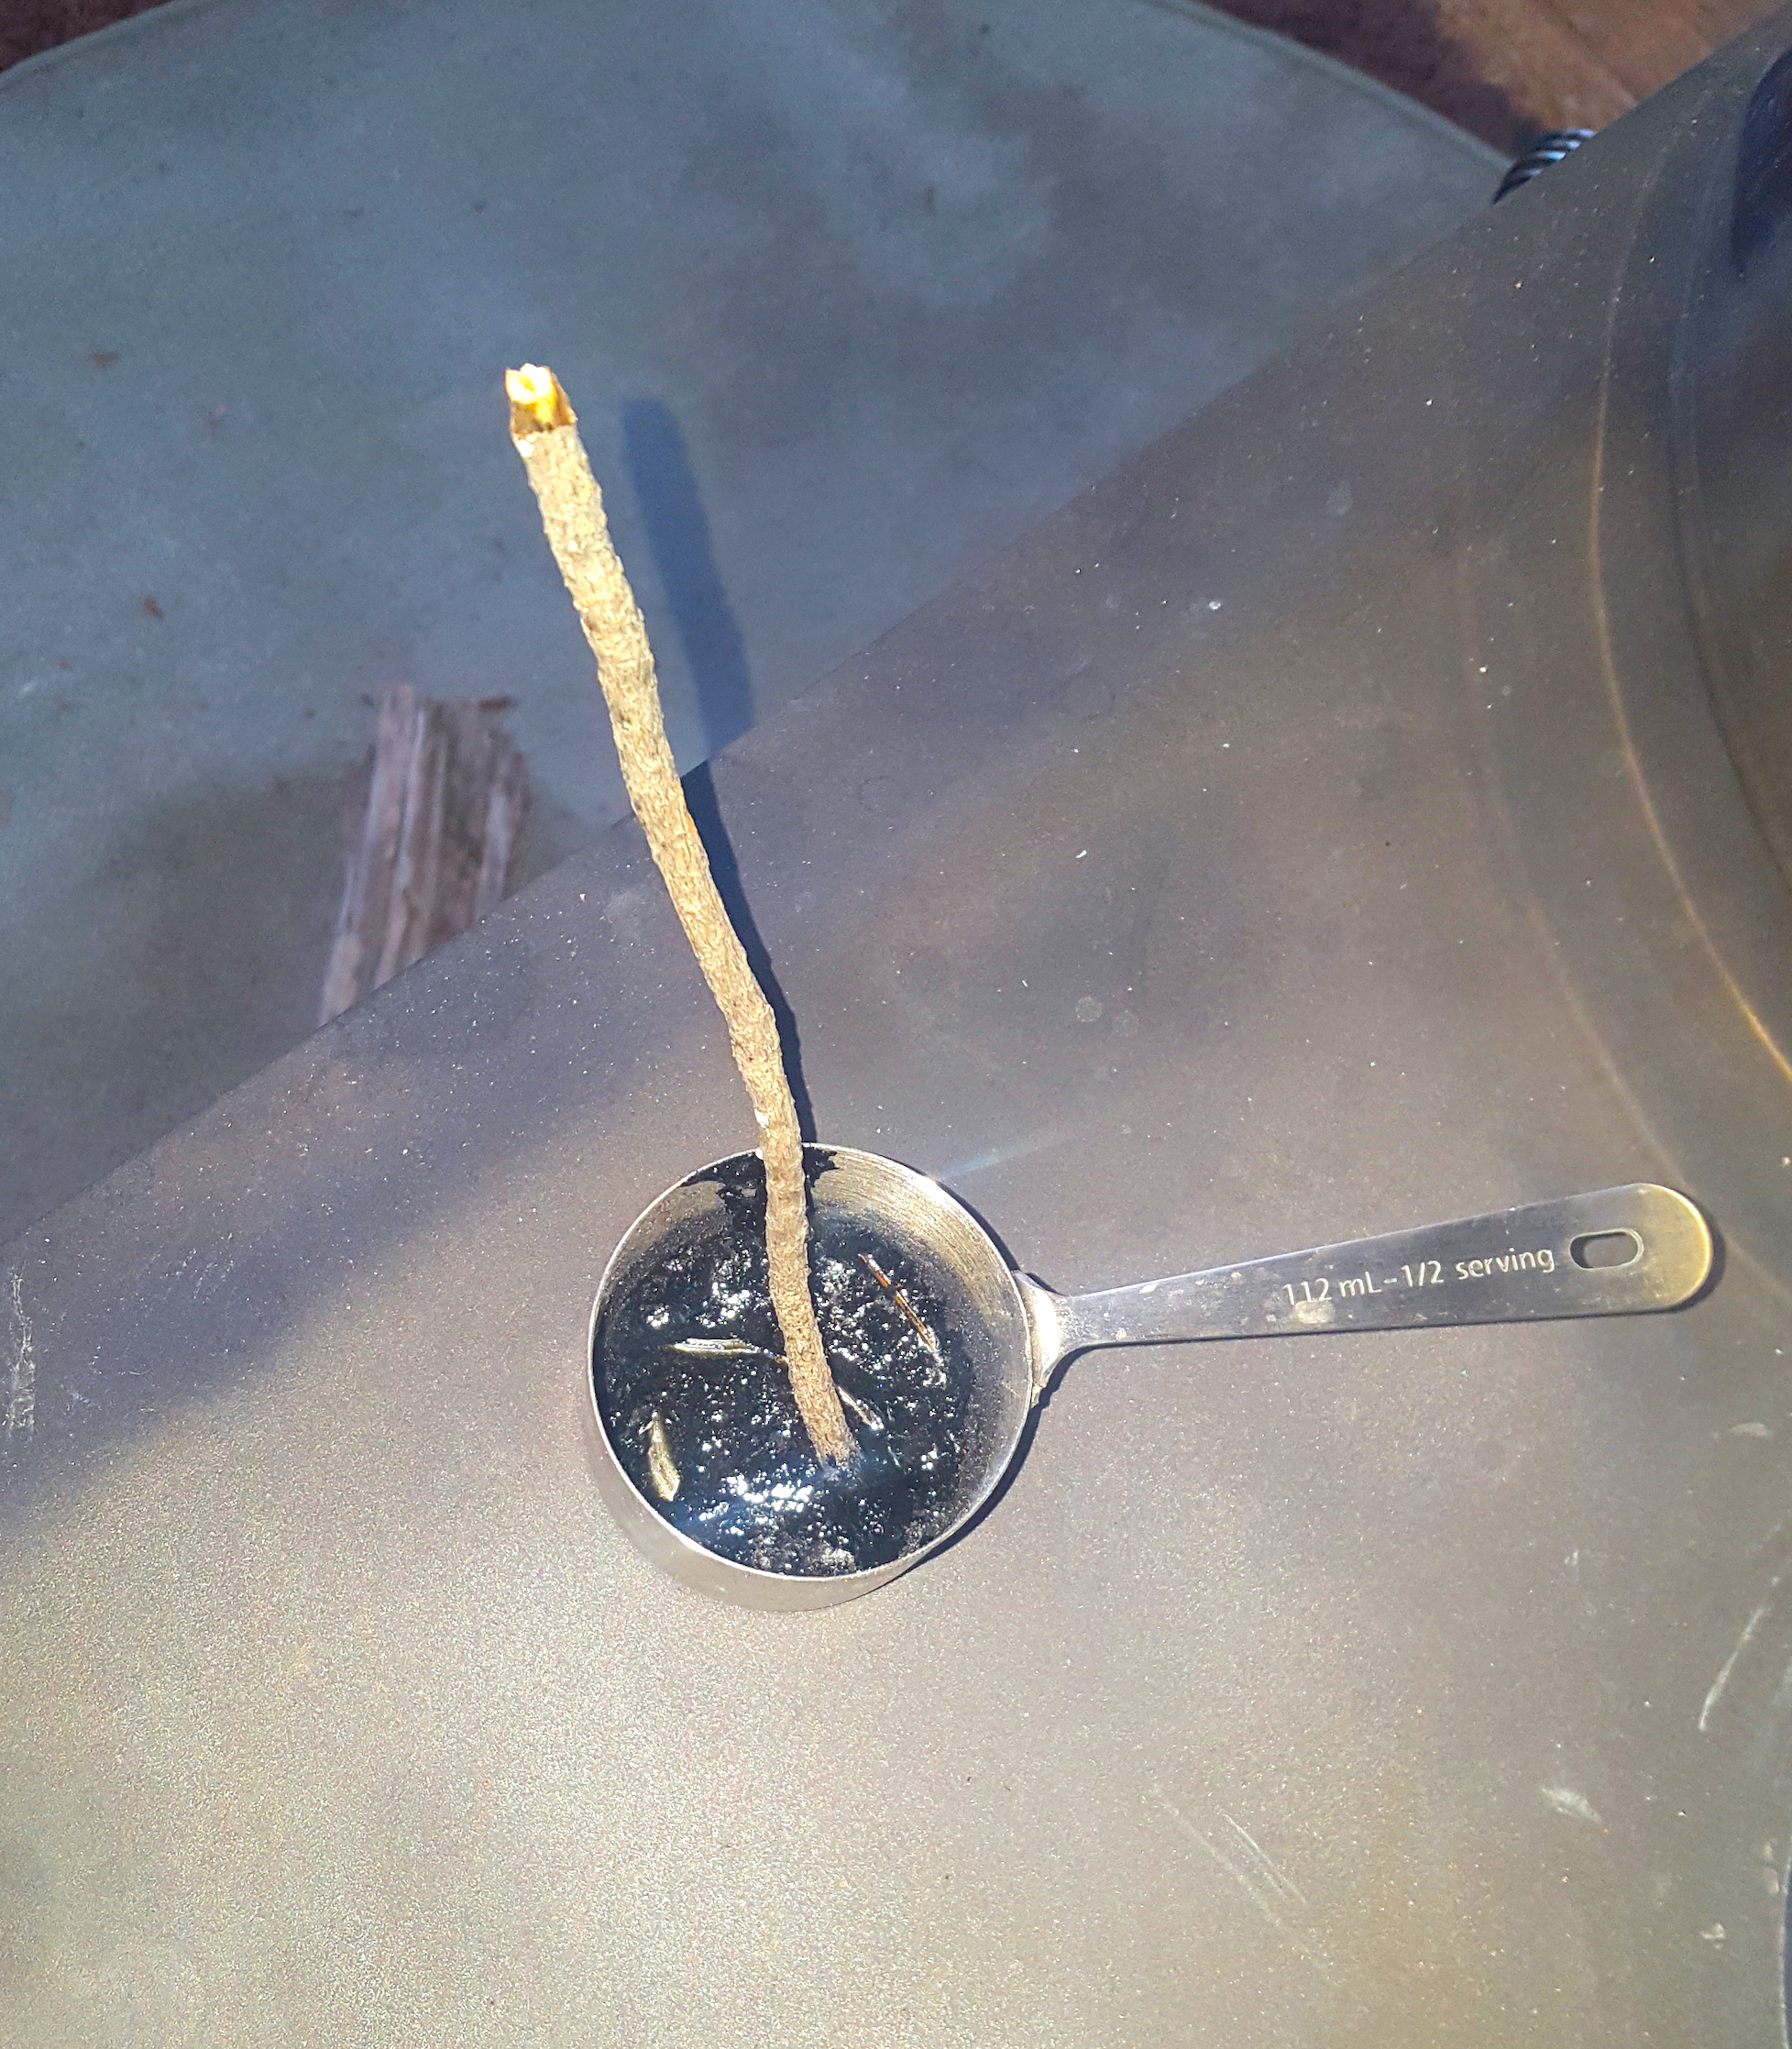
I’m working on a project that needed a hot glue gun. I found this recipe for making hot glue with pine sap and charcoal. I scraped some sap from some trees—I used pine and fir sap. Then I fished a piece of cold charcoal from my wood stove, put it in a baggie and pounded it with a hammer. I melted the sap on the wood stove, stirred in some ground charcoal, and I had hot glue. It sets fast and it’s black but seems to do the job.
The recipe called for about 1 parts charcoal to 3 parts sap and I believe that’s by volume, not weight, because charcoal doesn’t weigh much. Also, I’ve read recipes that called for hardwood charcoal but all I have is soft wood and it seemed to work fine.
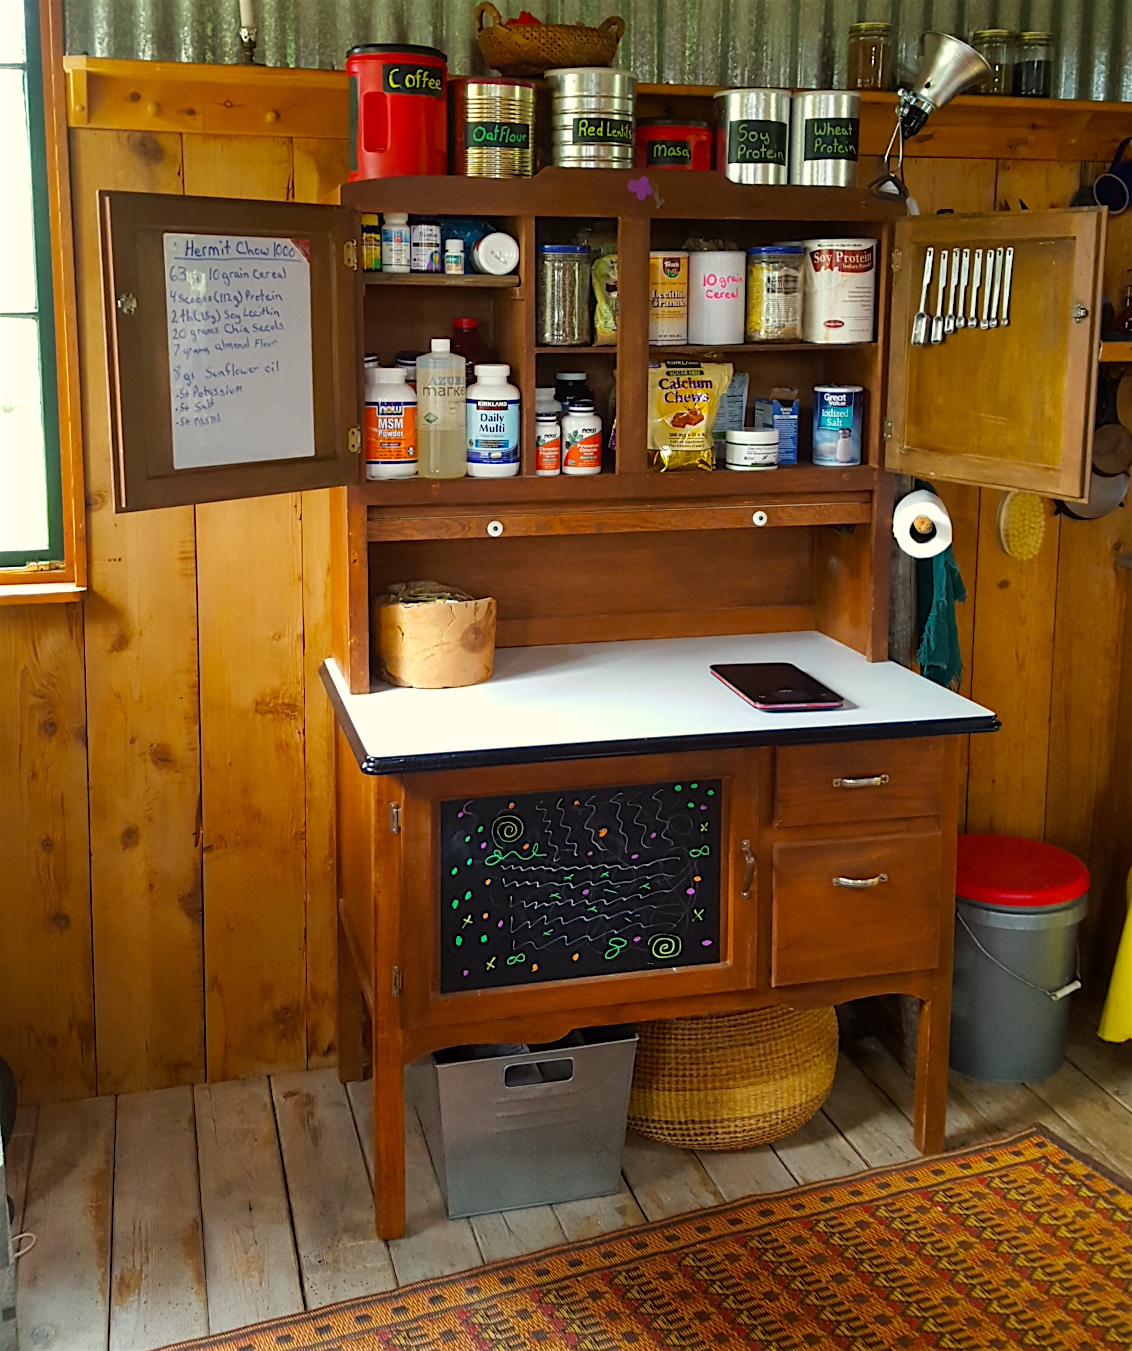
This is my Hermit Chow laboratory. I create optimal nutrition here for around 2 dollars a day. I don’t ever have to go to town now; I just order my supplies online. I took inventory yesterday; I have at least 3 months of supplies in my lab.
The basics you will need to build your own Soylent are: A source of carbs, a protein source, a source of fat, a multivitamin/multi-mineral tablet, Calcium with added D+K, Potassium, some source of Choline ( I chose soy lecithin) and a source of sodium (either salt or baking soda). Depending on whose nutritional guidance you may be following (there are many to choose from) you may also want to add some extra biotin, some MSM powder, and some chromium. I bought those extra things but after researching it, I think they may not be necessary.
Most people mix many days of their dry mix concoctions–(some a whole month)– at once so it’s convenient. Tip: You can mix the oil in with the dry flour and it keeps fine.
When I got tired of drinking my sustenance, I used less water and made it into a cookie dough. Currently I’m using 10 grain cereal as my carb so I make it in to porridge. To change things up I have another recipe of curried red lentils and TVP.
I’ve been interested in making a backpacking version and maybe trying it out on a 600 mile test hike.
For some reason, this is so interesting and fun to me.
On a related note, I found this Hermicity site where you can live alone and a drone will deliver Soylent and water to your hermitage. A hermit colony ran as a decentralized autonomous organization on the ethereum blockchain.
If it asks you which program to open with, select GAIA GPS.
Keep loading all the tracks and waypoints for every section you are hiking.
Now, with the tracks and waypoints loaded for all the sections you want, in GAIA GPS, select the menu button at the top left corner, select tracks, select which track you want, select “download map along track”, select “save”. While you have wifi make sure you zoom in on the map.
If you have a computer you can download Halfmile’s complete files:
GPS Data By State:
California — from Campo to Ashland, OR | GPS Data
Oregon — from Ashland to Cascade Locks | GPS Data
Washington — from Cascade Locks, OR to Manning Park | GPS Data
So why did people start wearing underwear? Probably to keep their pants clean. And why did they start wearing pants? Probably to cut down on chafing when they rode horses.* And why did women start squatting to pee? ‘Cause they were wearing underwear and pants. So if you’re not riding a horse you might find your life improved without either.
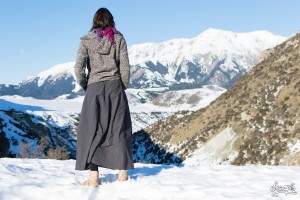
I’ve been exclusively wearing a Macabi hiking skirt for years now. On trail and off, year ’round. I don’t own a pair of pants or a pair of underwear.
The number one advantage of wearing a skirt is doing away with underwear and being able to pee standing up without having to remove your pack—-this is no small life improvement.
If you are a man you probably have mastered peeing standing up. If you are a woman you may need a little trial and error to learn what works best for you.
Here is one technique to get you started: Wide stance, with one hand grab the back of your skirt and pull it away from your body, with the other hand pull up the front of your skirt, grab your pubis and with a finger on either side of your urethra, pull up so that your urethra is pointing in the right direction and is freed from the folds. Pee. Blot dry with the hem of your skirt, continue hiking. (For some reason my skirt doesn’t smell like pee.)
One problem you may encounter is thigh chafing when it gets hot. I solved this problem by taking a Summer Buff, sewing a little pocket around the top to push through a band of elastic, and wearing it on one of my thighs. Monistat Soothing Care Chafing Relief Powder-Gel also works well but you have to keep reapplying it. I have never tried this but these thigh chafing bands might work.
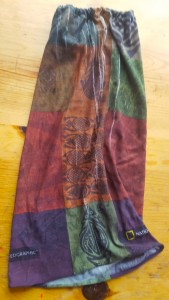
With the Macabi skirt you can wear it long or snap it up for a knee-length skirt. You can also turn it in to pants or shorts but I never do that. I usually hike with it snapped up.
It has huge self draining pockets so you can swim in it. It also as a zippered pocket which is where I carry my money and cards— So they are always with me and secure.
The skirt is for both men and women– it looks very good on men.
I met a woman in Sierras who would take off her top, pull her skirt under her armpits, and wear it like a dress to modestly clean herself on the trail.
* I didn’t research this or anything—just some info I pulled out of the atmosphere.
Now, I’m not totally blaming the marshmallow like Hoka One One shoes for me ending up with a knee brace, cane, and a dent in my leg muscle but I believe the high unstable shoe was at least partly to blame. Would not recommend if you are hiking on uneven terrain. Even though my feet didn’t hurt in them, they tweaked everything else.
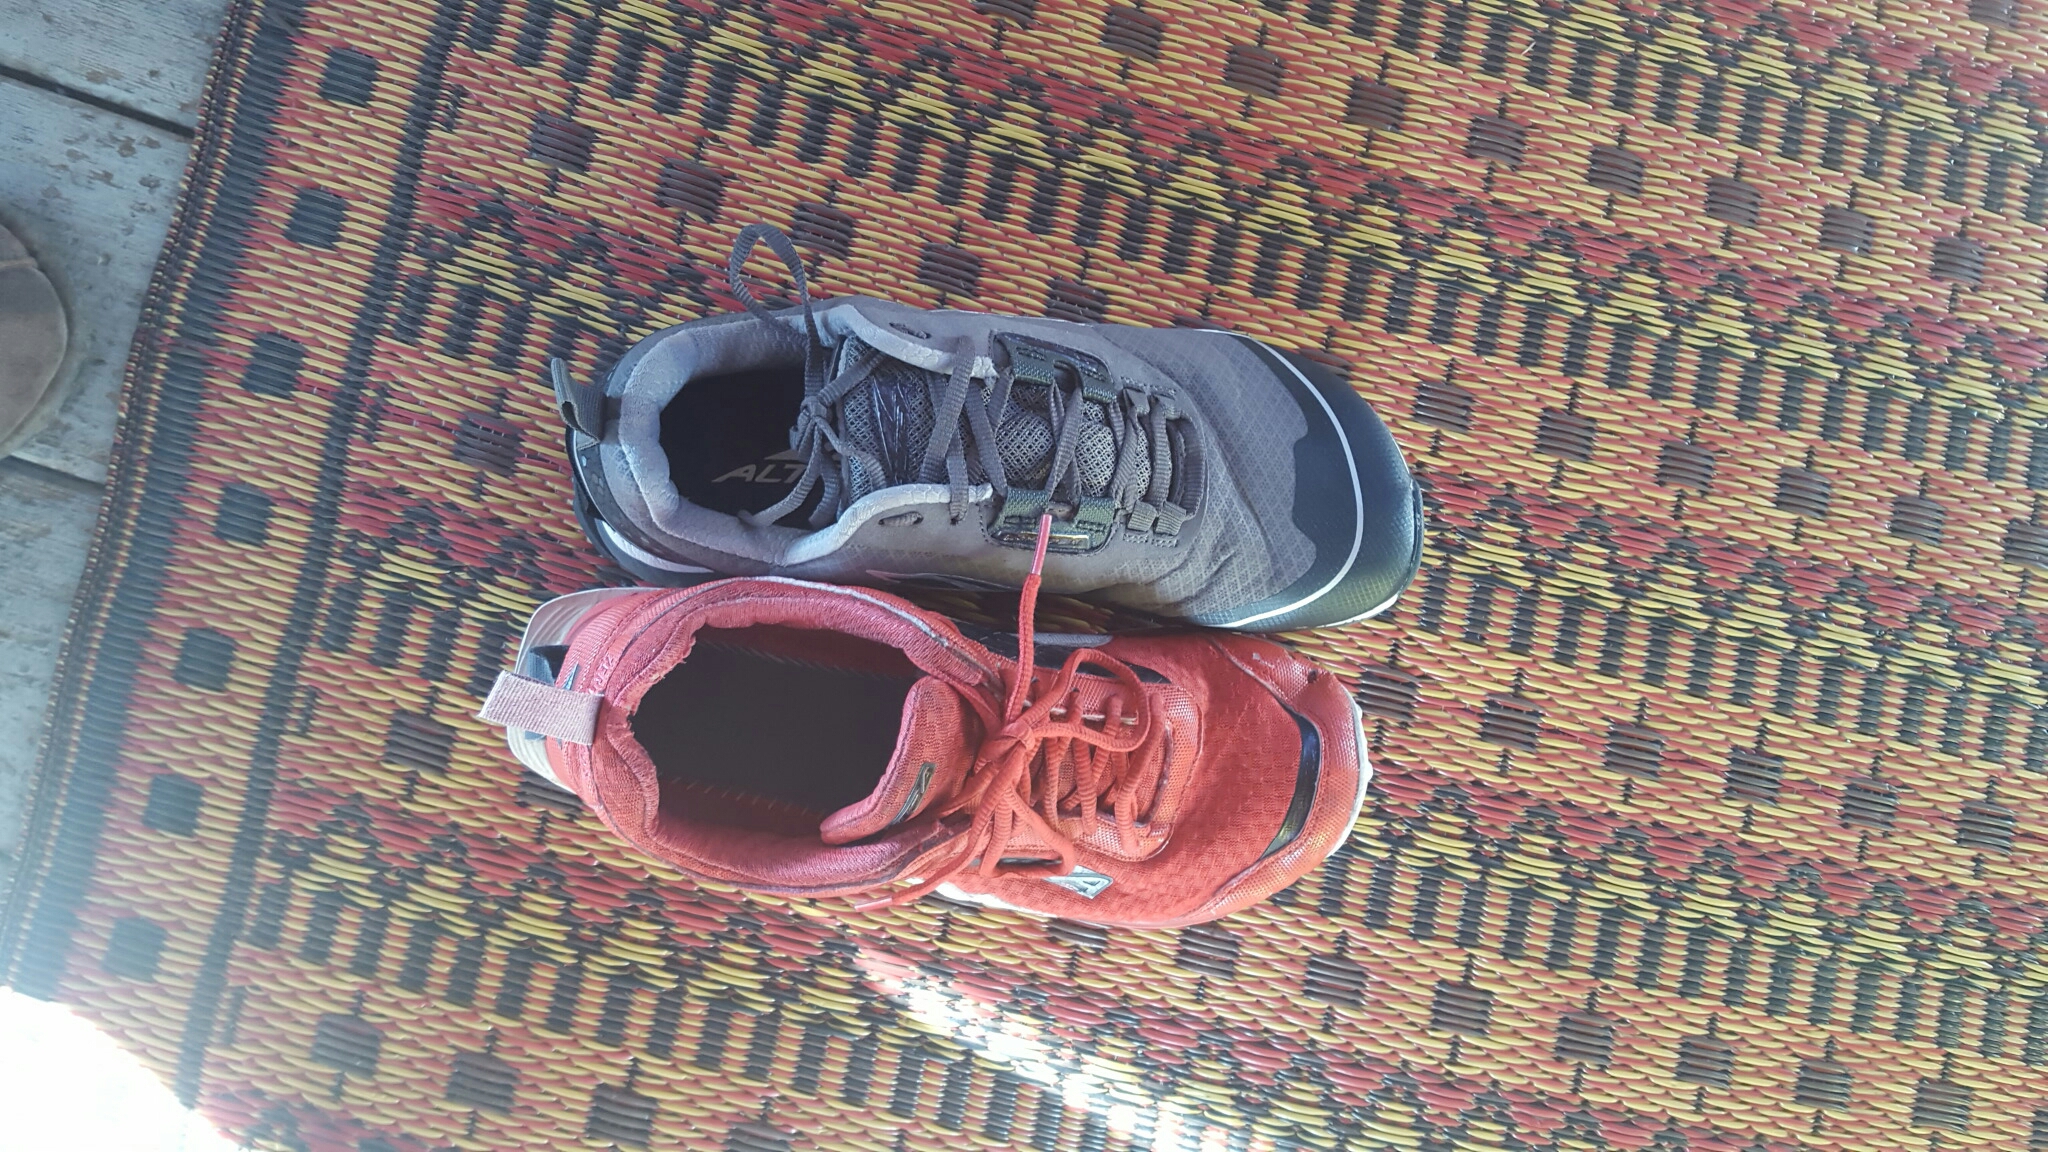
After my injury healed, (the dent still remains), I tried the Altra Lone Peaks 1.5 combined with a soft insole. They were close to the ground, no heal lift, and a big wide toe box.
Love them— I can put in a 30 mile day and not have feet that scream at me. But then….they changed the shoe. So, I bought every pair in my size I could find.
One thing I really dislike about the Altra’s Lone Peaks is the very loose weave of the shoe. Even while wearing gaiters, my feet were as filthy and dried out as if I had been walking in sandals. On the Oregon Coast Trail, they would fill with sand but I couldn’t just empty the shoes cause the sand would be inside the weave so I’d have to beat the shoes together for like 10 minutes to empty them and then they would start filling up again.
The loose weave made me long for a water-proof version. I don’t mind my feet getting wet but I like water-proof shoes cause they keep my feet clean and moist so my feet don’t dry out and crack.
I’m on my last pair of the 1.5’s. Looking at the new ones I was happy to see they now come in a water-proof version. It looks like the new shoe is a little higher than the old ones (which for the above reasons I feel is a mistake). They are however, feeling great on my little 7 mile walks but it’s hard to tell till I hit the trail. I have high hopes.
One more cool thing about these shoes is they have a little hidden splotch of velcro on the back of the heel for securing Dirty Girl Gaiters.
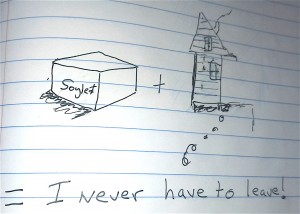
So you bought a bunch of Soylent so you never have to leave your cabin but you are tired of drinking all your meals….. Try making it into some Soylent cookie dough. Delicious nutrition.
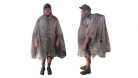
Picture from: https://www.quora.com/What-is-the-best-ultralight-poncho-tarp Because I don’t want to go set up my tent in the snow this morning.
This has been my trail shelter for years. I think it’s the perfect set up– the ideal vagabond kit. It’s a mosquito net, it’s a rain poncho, it’s a tarp, it’s a doubled wall tent.
I believe the Gatewood Cape was named after Grandma Gatewood, who walked the Appalachian Trail with a shower curtain that was her rain gear and her shelter.
In Colorado, I would use it as a rain poncho in monsoons and then, when I got smart, would quickly set it up as a tarp, crawl inside and take a nap till the monsoon was over.
I walked the Camino in Winter. I was a little worried about crossing the Pyrenees in winter as some pilgrims get caught in snow storms and die. I brought my tent stakes and my 4 ounce carbon Z- trekking pole and felt secure that if that happened, I could set up my Gatewood Cape and safely wait out the storm. Although I never needed to set it up as a shelter, on the Camino, I wore it often as a rain poncho.
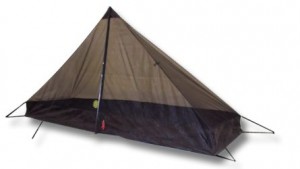
A mosquito net is the worlds best invention—why would anyone not carry one? Whenever I watch survival shows where they can only bring a few items, no one ever brings a mosquito net, but that is the first item I would add.
If the bugs are bad but the weather is nice, I can sleep in comfort in just the net tent. When I want to take a break from the mosquitoes or biting flies, I quickly set it up, crawl inside and restore my sanity while I eat my dinner or take a siesta in peace.
Sometimes, when it’s really cold, I sleep inside the collapsed net-tent like a bivy and it adds a surprising amount of warmth.
Although I’ve never tried this, you are supposed to be able to hang it in a shelter for a bug free sleep.
You can leave the net tent attached to the Cape and set it up as one– as quick as a tent—and its a complete double walled tent.
It blocks the wind nicely. No where does the net tent touch the walls of the cape, so, no waking up wet from condensation. There is a big vestibule for cooking and to store muddy shoes. The door is high enough for you to get a little view, even when closed, as you lay in your bag.
The hood of the cape makes a top vent. If it’s raining and you want to make a protected top vent you can stick your hat on your pole, pull the hood over it and make a little protected air vent. You can open and close the vent from your sleeping bag.
There is a big pocket that works as a pocket while using as a rain poncho, an inside pocket when using as a shelter and the cape and net-tent can be stuffed inside the pocket for packing–although I usually just stuff it in my pack or in the outside pocket of my pack if its wet.
One disadvantage of sil-nylon, is it relaxes once you set it up and can become quite slack in the rain, so, you have to leave your tent and tighten things up. I solve this problem by setting up the cape with my trekking pole at an angle. When I feel the tent slacken, I pull the pole towards me and everything is tight again. There is also a tension adjuster inside the tent, on the new ones, that will further tighten things up if needed.
Tip for quick set up: Tie one color of flagging tape on the back tie out and tie another color on each of the two front side tie outs. This makes it easy to see where everything is. First stake the back, then stake the two front sides leaving a little slack. Insert pole and stake out front. Stake out the two remaining pull-outs and go around and adjust everything so it is very taut. There are two additional pull outs on the side walls, but I never use those and I can’t see how they would improve anything.
If you plan to use it as a rain poncho, I recommend making a little shock-cord belt for it so it doesn’t blow around so much. There are snaps to snap up the excess when using as a rain poncho. This isn’t my only rain gear, I carry a Z-packs rain coat and a trash bag rain skirt as well.
Tent stakes: I used to go with all super light thin titanium stakes but after I got a trail lesson in high winds and soft soil, I started carrying at least 3 better holding stakes like these hex stakes. Last year on the Oregon Coast trail, I tried carrying a few MSR Groundhog stakes; they held well in the sand and wind.
I only have one outfit—I’ve worn the same thing, on trail and off, summer and winter, everyday for years—a macabi hiking skirt and a nylon shirt.
Since I only have the one outfit, I carefully select my clothes like a super hero selects their outfit.
Although this combo works well most of the time, I’ve been unhappy with nylon shirts in the hot desert because they are hot and aren’t breathable enough. So, before heading out to the Arizona Trail, I bought a Columbia Sportswear omni freeze shirt. My conclusion?– Basically they have taken every disadvantage of a nylon shirt–hot and not breathable enough, and combined it with all the disadvantages of a cotton shirt–cold when wet and slow to dry.
So the next year, when heading back to the desert of the Pacific Crest Trail, I decided to just go with a light weight cotton shirt–breathable, quick to dry, cools when wet and very comfortable. Worked great and would use again for deserts.
There, however, is a reason you never see a super hero wearing natural fibers— they quickly disintegrate when adventuring. Even though I kept repairing it with dental floss, in less than a thousand miles, it looked liked I had been marooned for 20 years— that shirt was nothing but a hopeless rag and had to be replaced; where as a nylon shirt will last years and multiple long hikes.
I replaced it with a nylon shirt but I would definitely go back to cotton next time I’m hiking in the desert.
An idea: I was thinking, if a person was sending themselves boxes on a trail, it might be an idea to buy a bunch of used shirts at a thrift store or yard sale and pop out a new shirt every resupply. That way you could look spiffy when hitching a ride back to trail instead of trying to hitch in a stained raggedy shirt. You also wouldn’t have to do laundry, and you wouldn’t have to keep repairing your cotton shirt. I’ve seen shirts at yard sales for .25 a piece.
I discovered roasted seaweed at the little hiker store in the hostel in Lone Pine. After doing the math, I calculated it had a whopping 165 calories per ounce (6 per gram)–pretty good for vegetables–although I assume, most of the calories come from the oil they are roasted in.
I eat them like chips, but the worker at the store said she crumbles them in anything she is cooking–contributes salt, oil, and veggies to any meal.
The packaging is quite bulky; I emptied them all into a baggie and threw away the packaging.
I’m in a motel room in Idyllwild. Even though it’s late May in Southern California, winter is never far away when playing in the mountains and its freezing in the San Jacinto’s and I don’t want to leave the warmth of the motel room so I talk myself in to staying another night.
I’m snugged up in my warm sleeping bag and its time to get hiking but it’s too cold to leave my sleeping bag, so I stay in bed.
I stop for a break and suddenly I’m freezing.
This is why I carry this jacket: Instant warmth. It gets me out of my sleeping bag in the morning and keeps me happy and hiking when the weather turns frigid.
It doesn’t have logos on the chest. It does have a tag on the side of it which you can cut off or take a sharpie to ink out the name. You can also ink out the logo on the zipper pull.
I’ve carried it for at least 6 years; 10 ounces (283 grams) I never regret taking.
I’ve resupplied out of little stores on the trail now for years. I look at it like foraging. I don’t go in with an expectation of what I want but more a “lets see what’s available today” kind of attitude. If I’m open and look at everything, I walk away with a resupply that is better than anybody’s box of stale food they dried months ago.
Once, while sitting out at the picnic table at Echo Lake, a couple asked me if I got my box. I said “no, I buy as I go.” He said, “Well, I guess that’s okay if you don’t care what you put in your body.” I watched them get their box, that they paid 35 dollars to have shipped from the East Coast, and unpack it. Inside they had: organic instant oatmeal, organic ramen, vegan gummy bears, organic dried apples and organic chips. I had whole wheat tortillas, Cheese, nuts, peanut butter, fresh apples, and chips. No wonder they were so crabby.
There are places though that a person walks through that don’t have a store and for those places a box would be very convenient. Unless you have a person to send boxes for you, that can make it tough, on a long trail, as some places don’t want to hold your package for a long time and it’s hard to predict what you want to eat months in advance.
I’ve discovered a few options:
Jet.com is a new Amazon-like site that is often cheaper than Amazon. They sell single and bulk items—including Kirkland (Costco brand) stuff. Orders over 35 dollars ship free.
Amazon prime Pantry. Where you can buy single items, instead of the bulk packages they usually sell, and have it shipped to you for a flat rate $5.99. You don’t have to fill a box; you can order as little as you want or as much as you want–up to 45lbs (20.4 kilos). Looks like they even sell tortillas. I don’t think they will ship to a post office though.
Another is Sonora Pass Resupply. They have an online store and you can order food and other trail needs and they will ship to you anywhere on the Pacific Crest Trail maybe anywhere. I think you can also send them your stuff and they will ship it to you. Shipping is free on orders of 50 dollars or more. They will also meet you at Sonora Pass and hand deliver a resupply to you for 50 dollars. They will also pickup and mail your bear can home from Sonora Pass for 15 dollars postage included and take out your trash.
Another is Zero day resupply. They have an online store and I believe will ship anywhere. They are even set up to do a bucket resupply at Muir Trail Ranch. They have a weight and calorie calculator for your order that makes things easy.
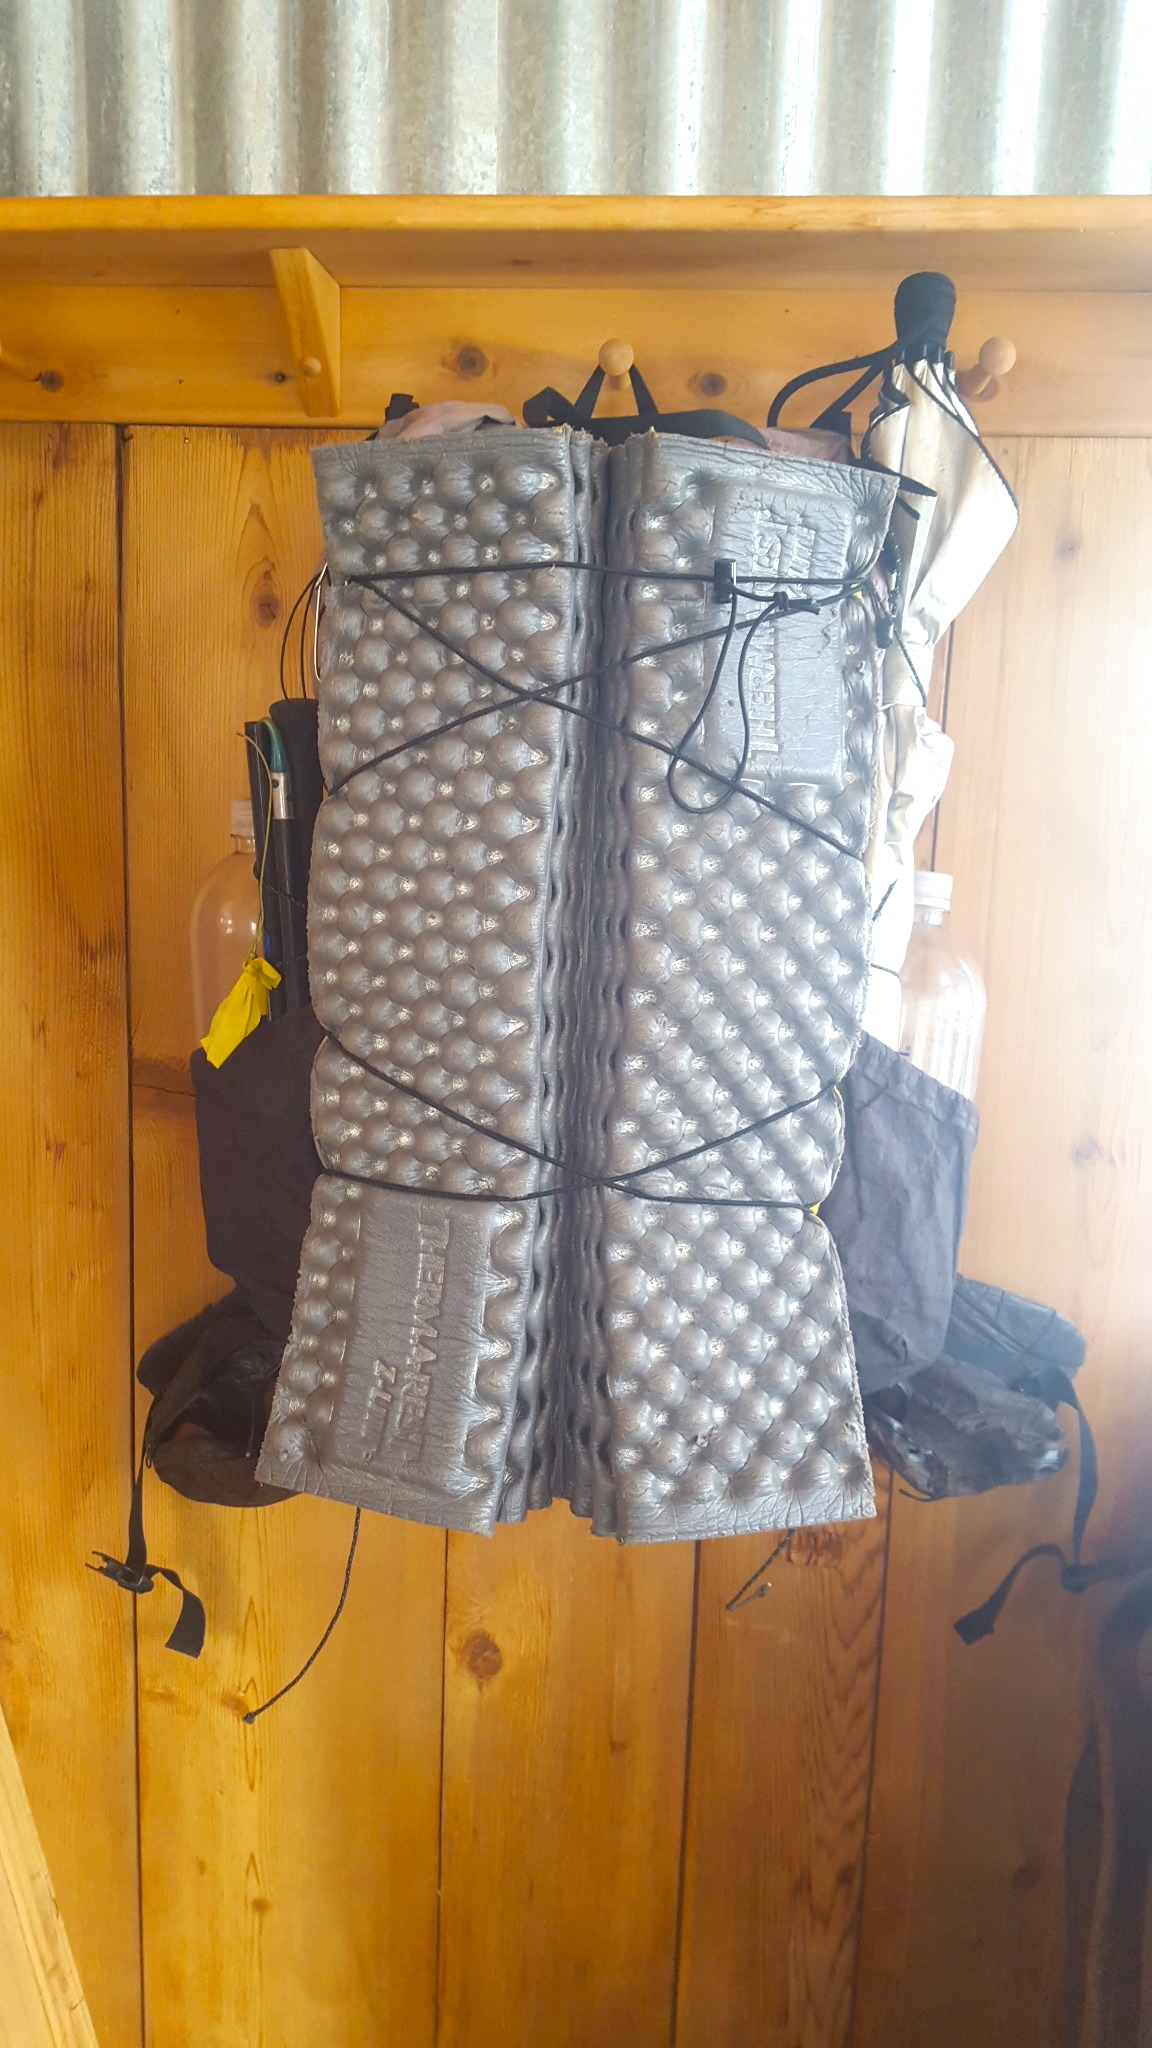
ZPacks Arc Blast 52 liter size with 2 belt pouches, ice axe loops, trekking pole holder, shock cord lashing. Plenty big enough but next time I think I get the 60liter size cause it only weighs a fraction of an ounce more.
3 aluminum hex stakes and 3 Hi-Vis Titanium Tent stakes This year I tried out some MSR Ground Hog stakes on the Oregon Coast Trail as well. They held well.
light weight ice axe– (the Camp Corsa and the TICA ICE TOOL R5 are the lightest ones) and microspikes for snow sections
Rain pants in addition to rain skirt in Washington.
May need extra water bottle for dry sections.
All this gear, with the exception of the shirt, has been trail tested for thousands of miles. I’m confident with this kit I can handle whatever the world throws at me. If any of it broke, I would replace it with the same thing.
 One problem you may encounter is thigh chafing when it gets hot. I solved this problem by taking a Summer Buff, sewing a little pocket around the top to push through a band of elastic, and wearing it on one of my thighs.


 In Colorado, I would use it as a rain poncho in monsoons and then, when I got smart, would quickly set it up as a tarp, crawl inside and take a nap till the monsoon was over.
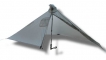
 A mosquito net is the worlds best invention—why would anyone not carry one? Whenever I watch survival shows where they can only bring a few items, no one ever brings a mosquito net, but that is the first item I would add.
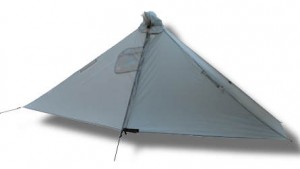 It blocks the wind nicely. No where does the net tent touch the walls of the cape, so, no waking up wet from condensation. There is a big
 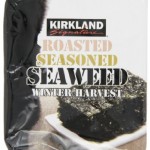 I discovered
 The packaging is quite bulky; I emptied them all into a baggie and threw away the packaging.
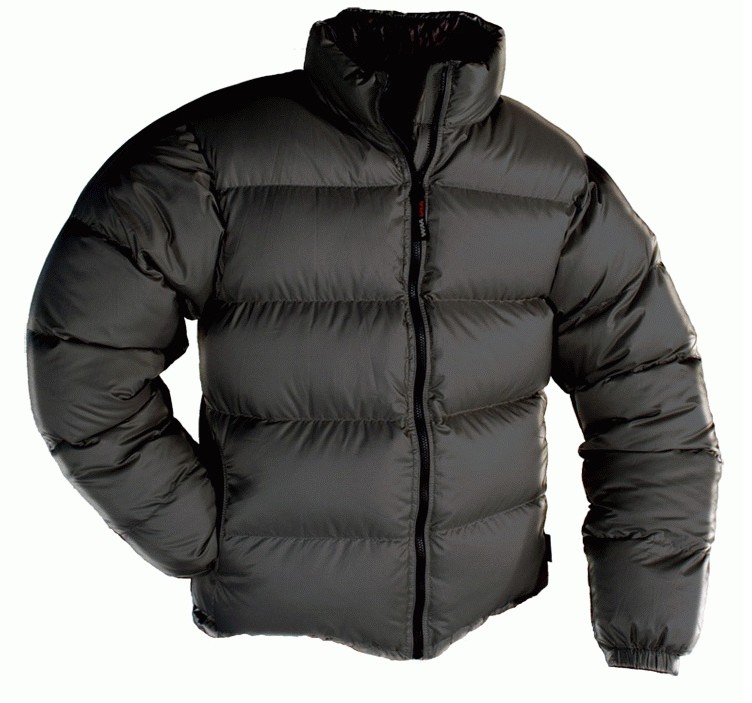 I’m in a motel room in Idyllwild. Even though it’s late May in Southern California, winter is never far away when playing in the mountains and its freezing in the San Jacinto’s and I don’t want to leave the warmth of the motel room so I talk myself in to staying another night.